MQTT-GaragePi
Documentation for MQTT-GaragePi
Project maintained by commputethis Hosted on GitHub Pages — Theme by mattgraham
Install and configure MQTT on Home Assistant
Setup MQTT
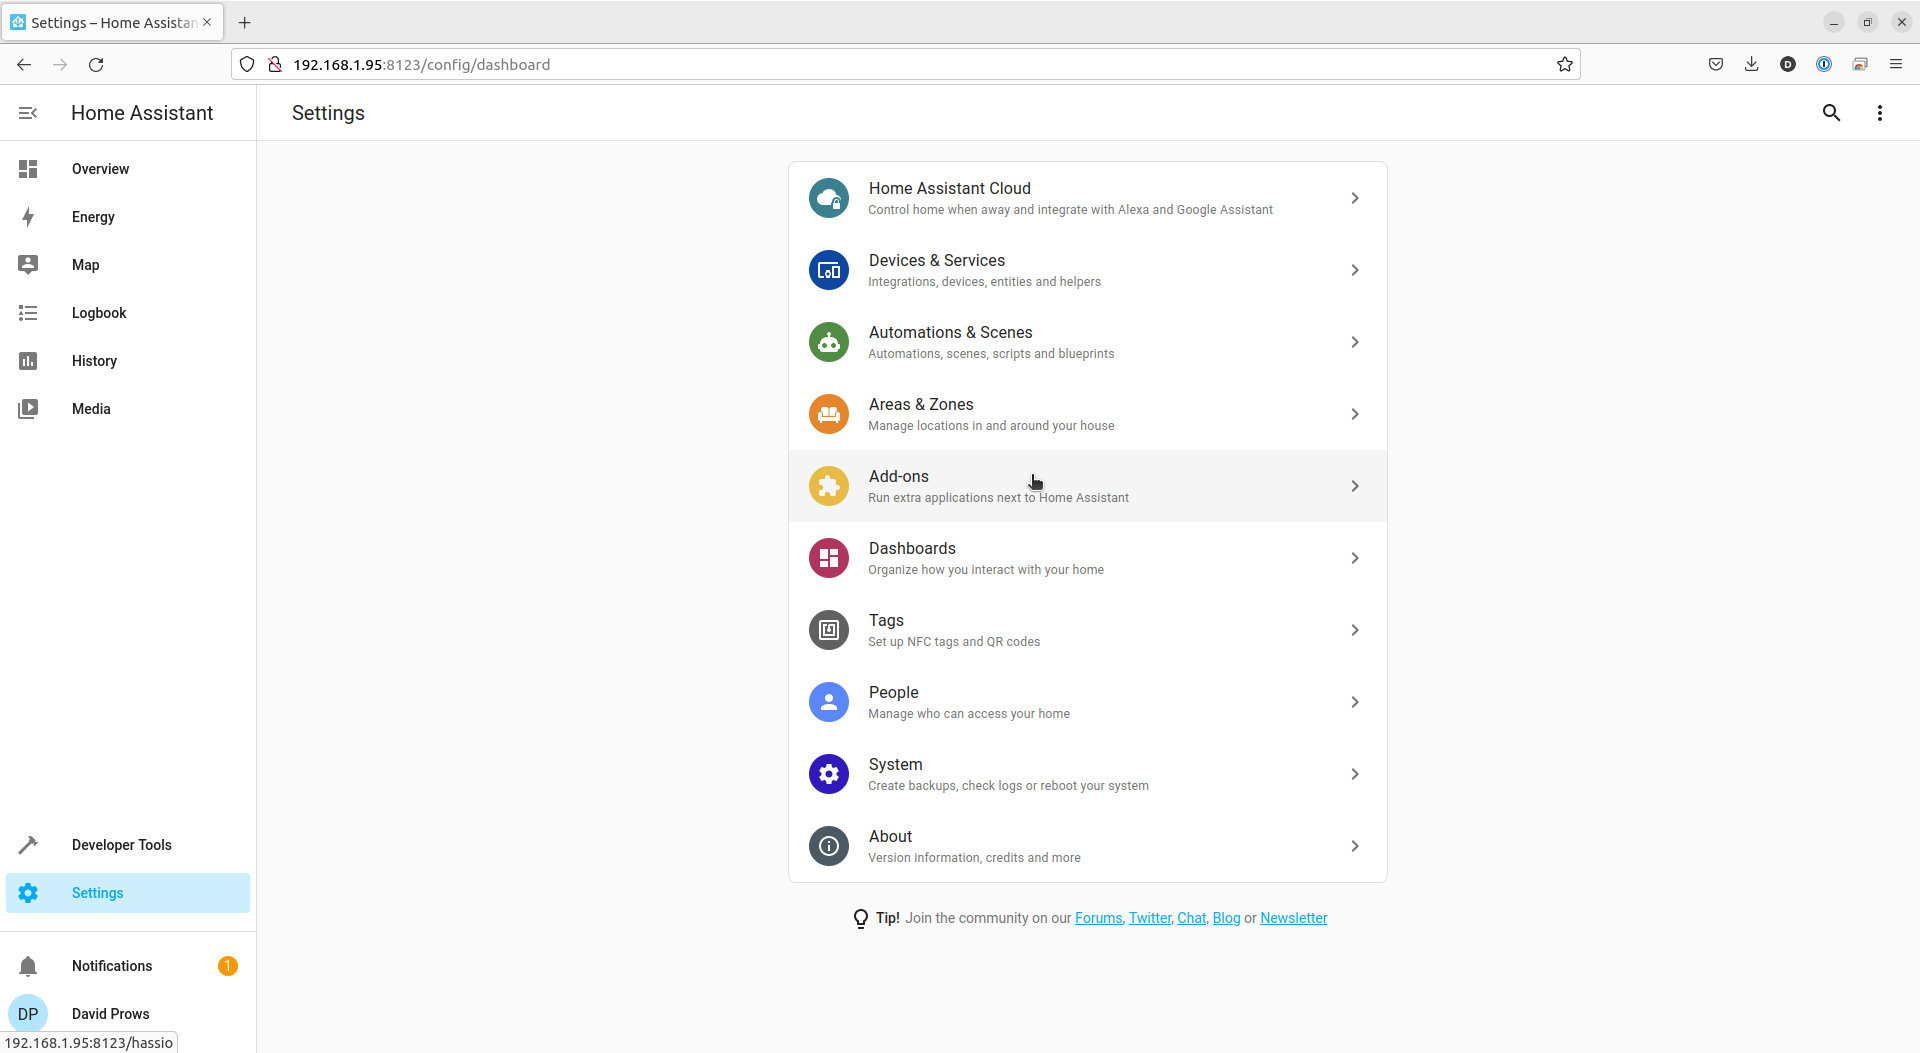
- Click on Settings on the Side bar
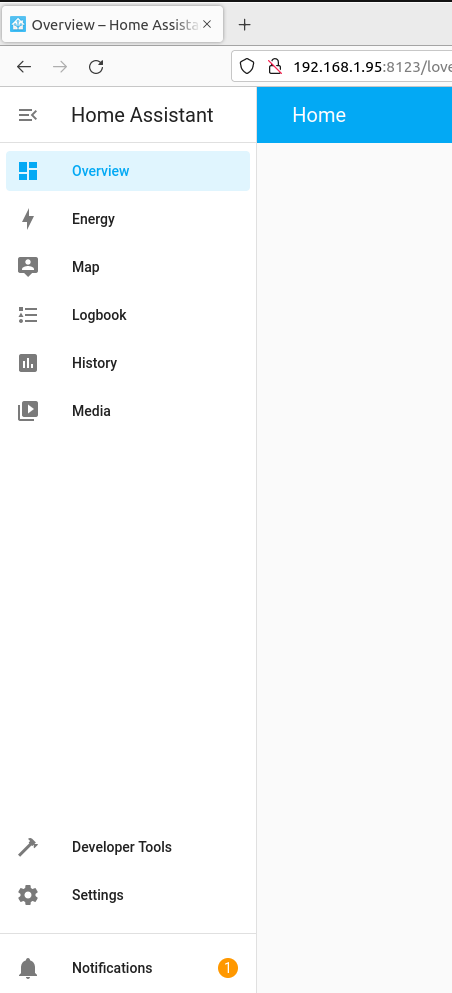
- Click on Add-ons in the list of options
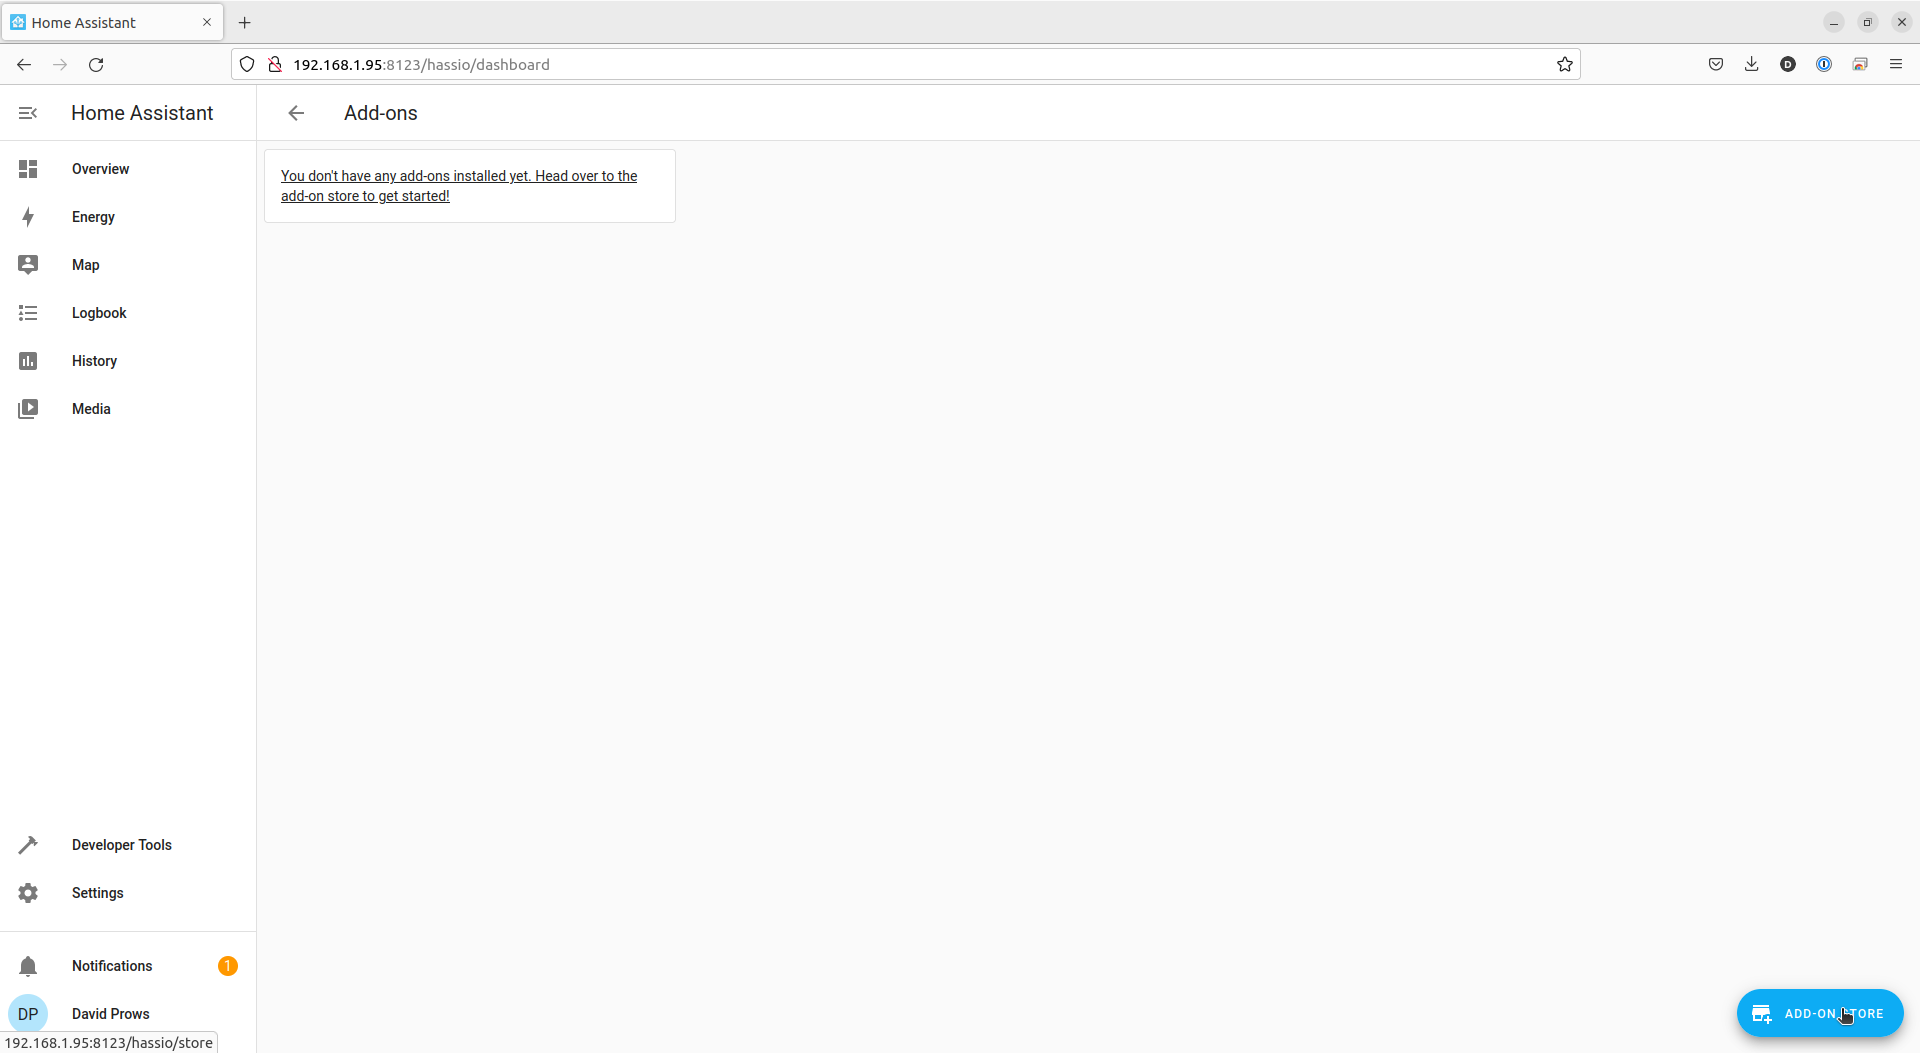
- Click the ADD-ON Store button in the bottom right of the window
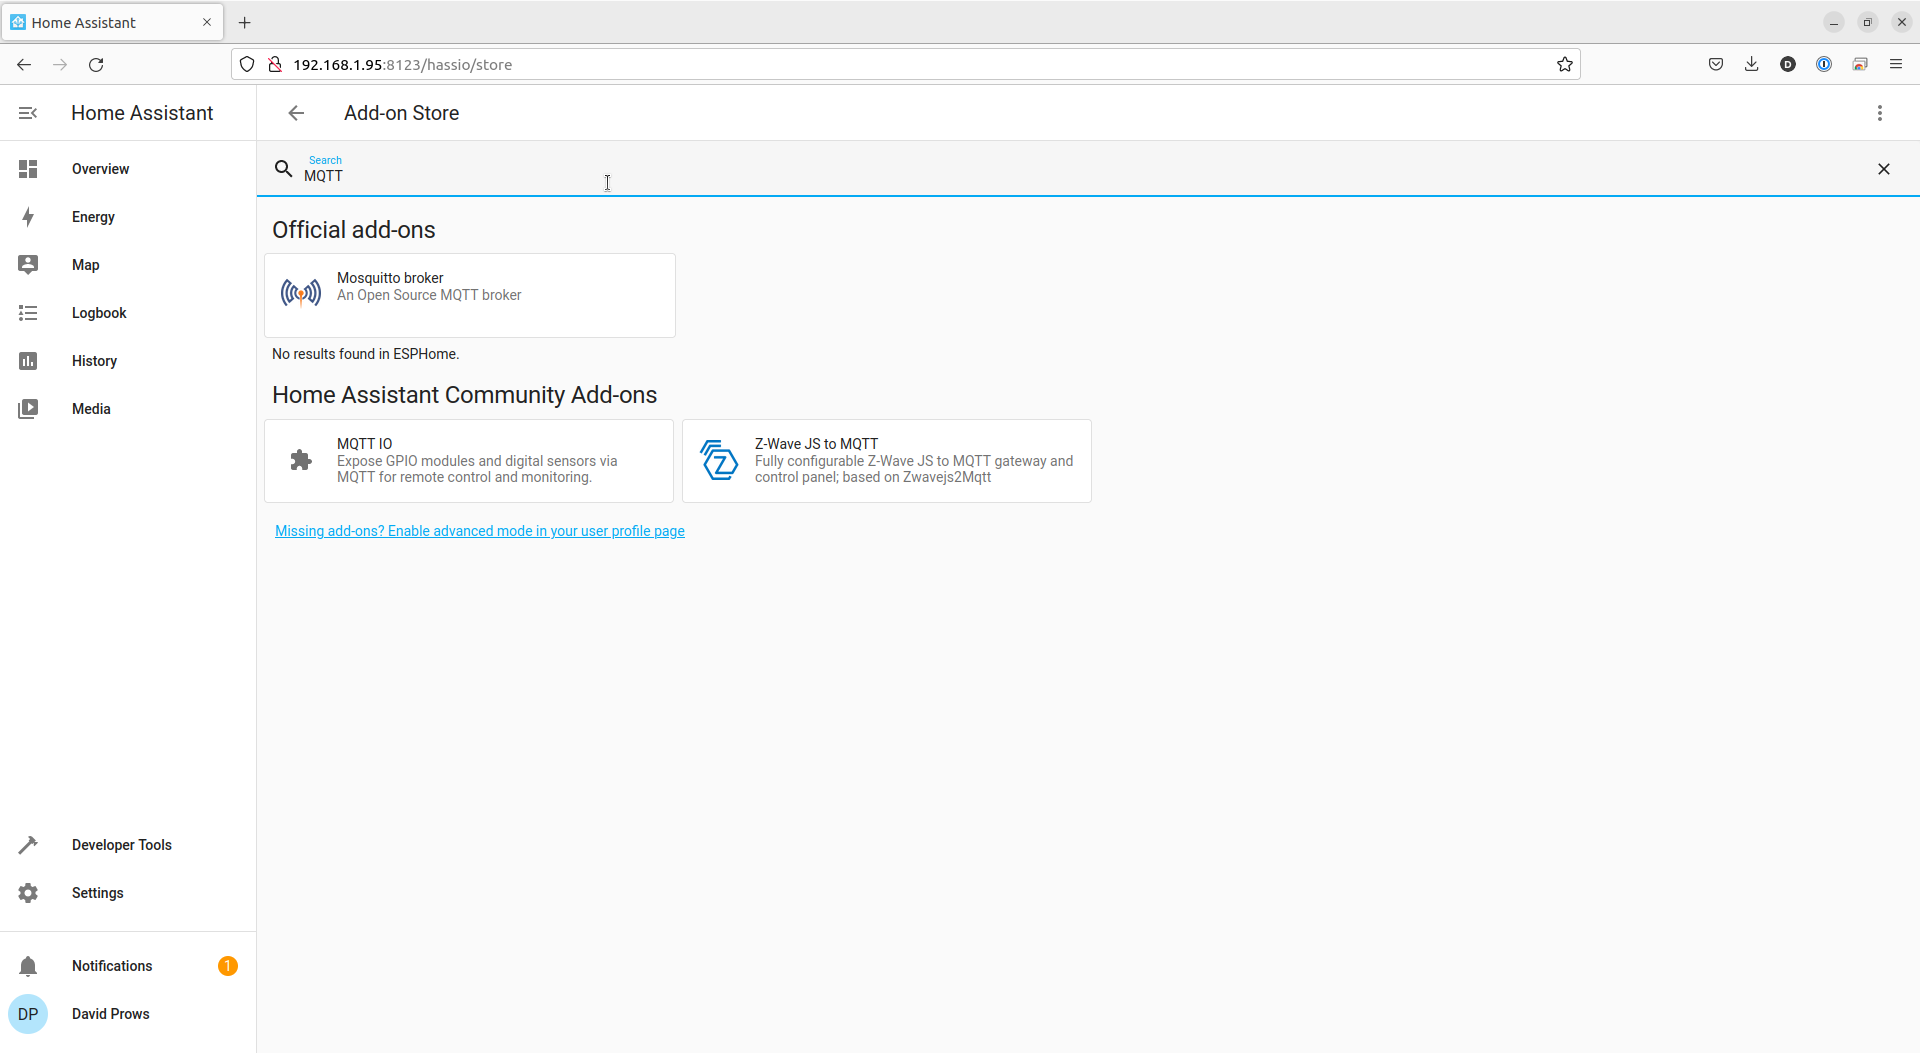
- Click in the Search field and type MQTT
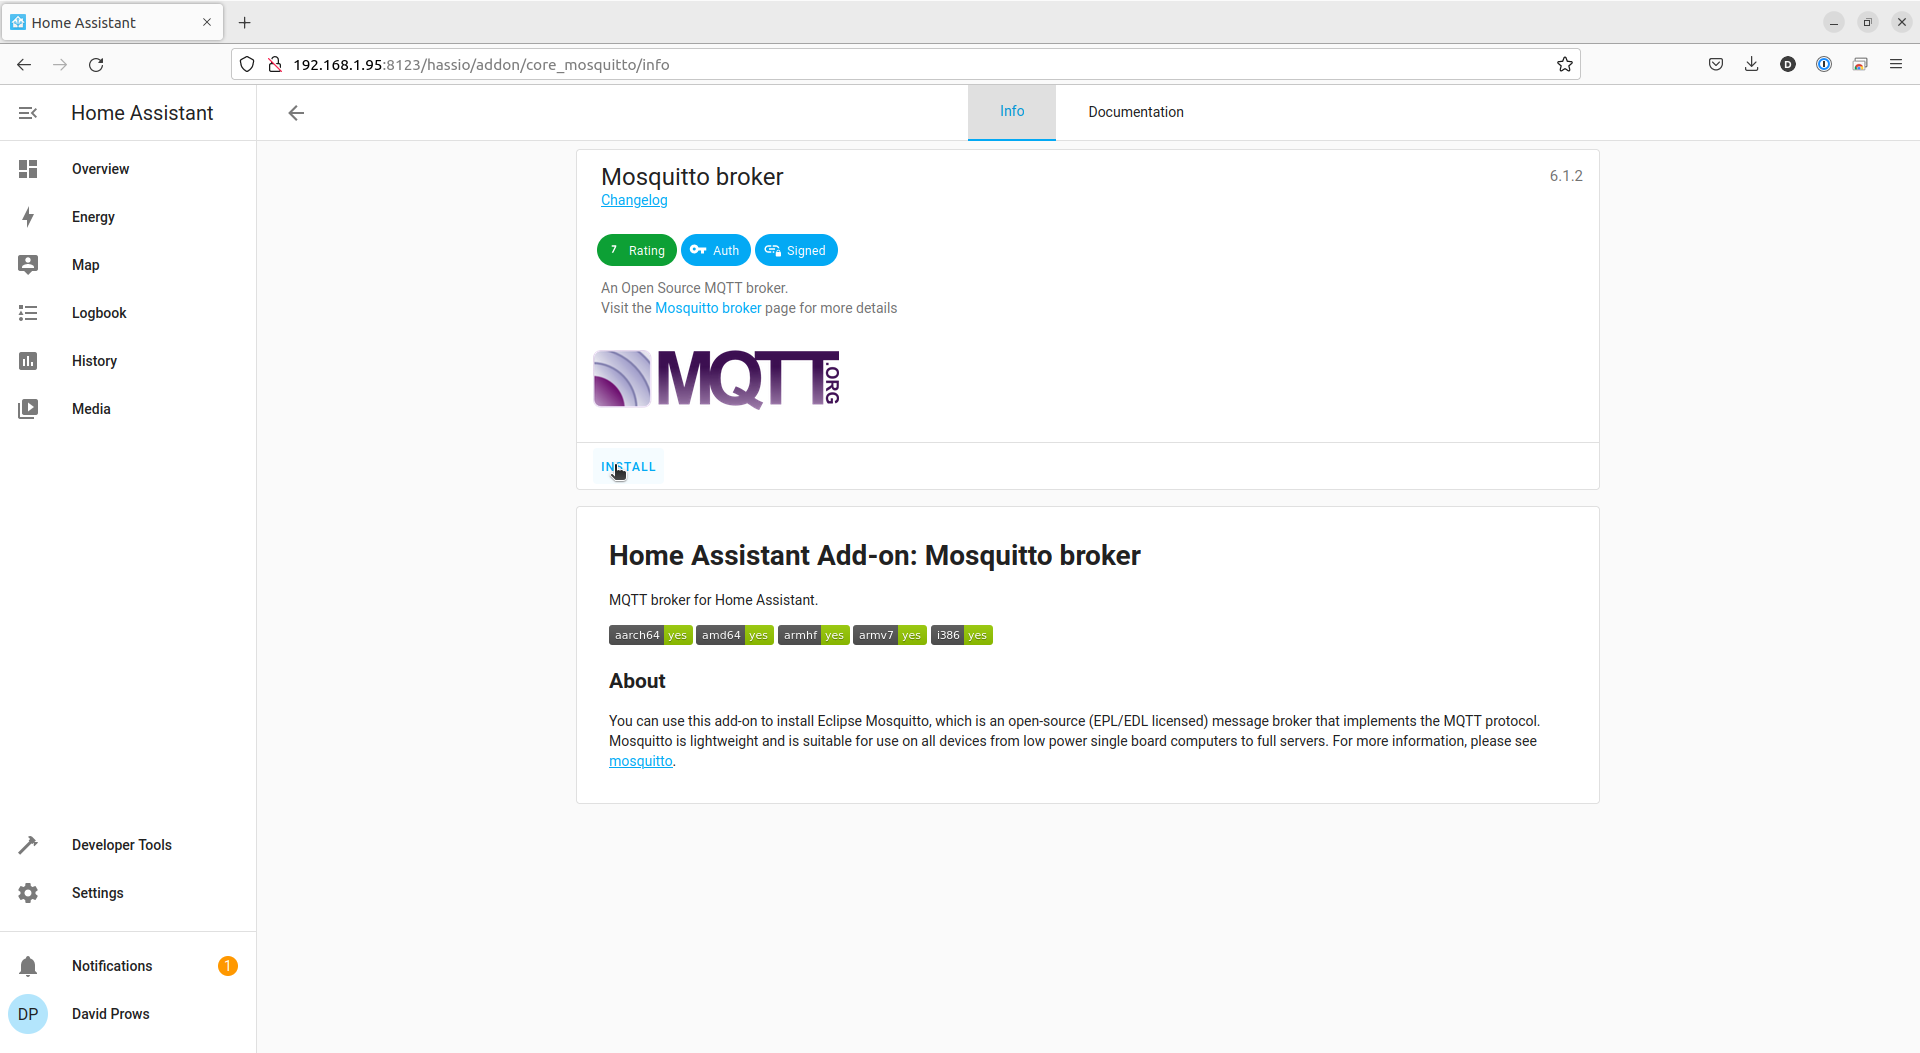
- Click the Mosquitto broker option
- Click the INSTALL link
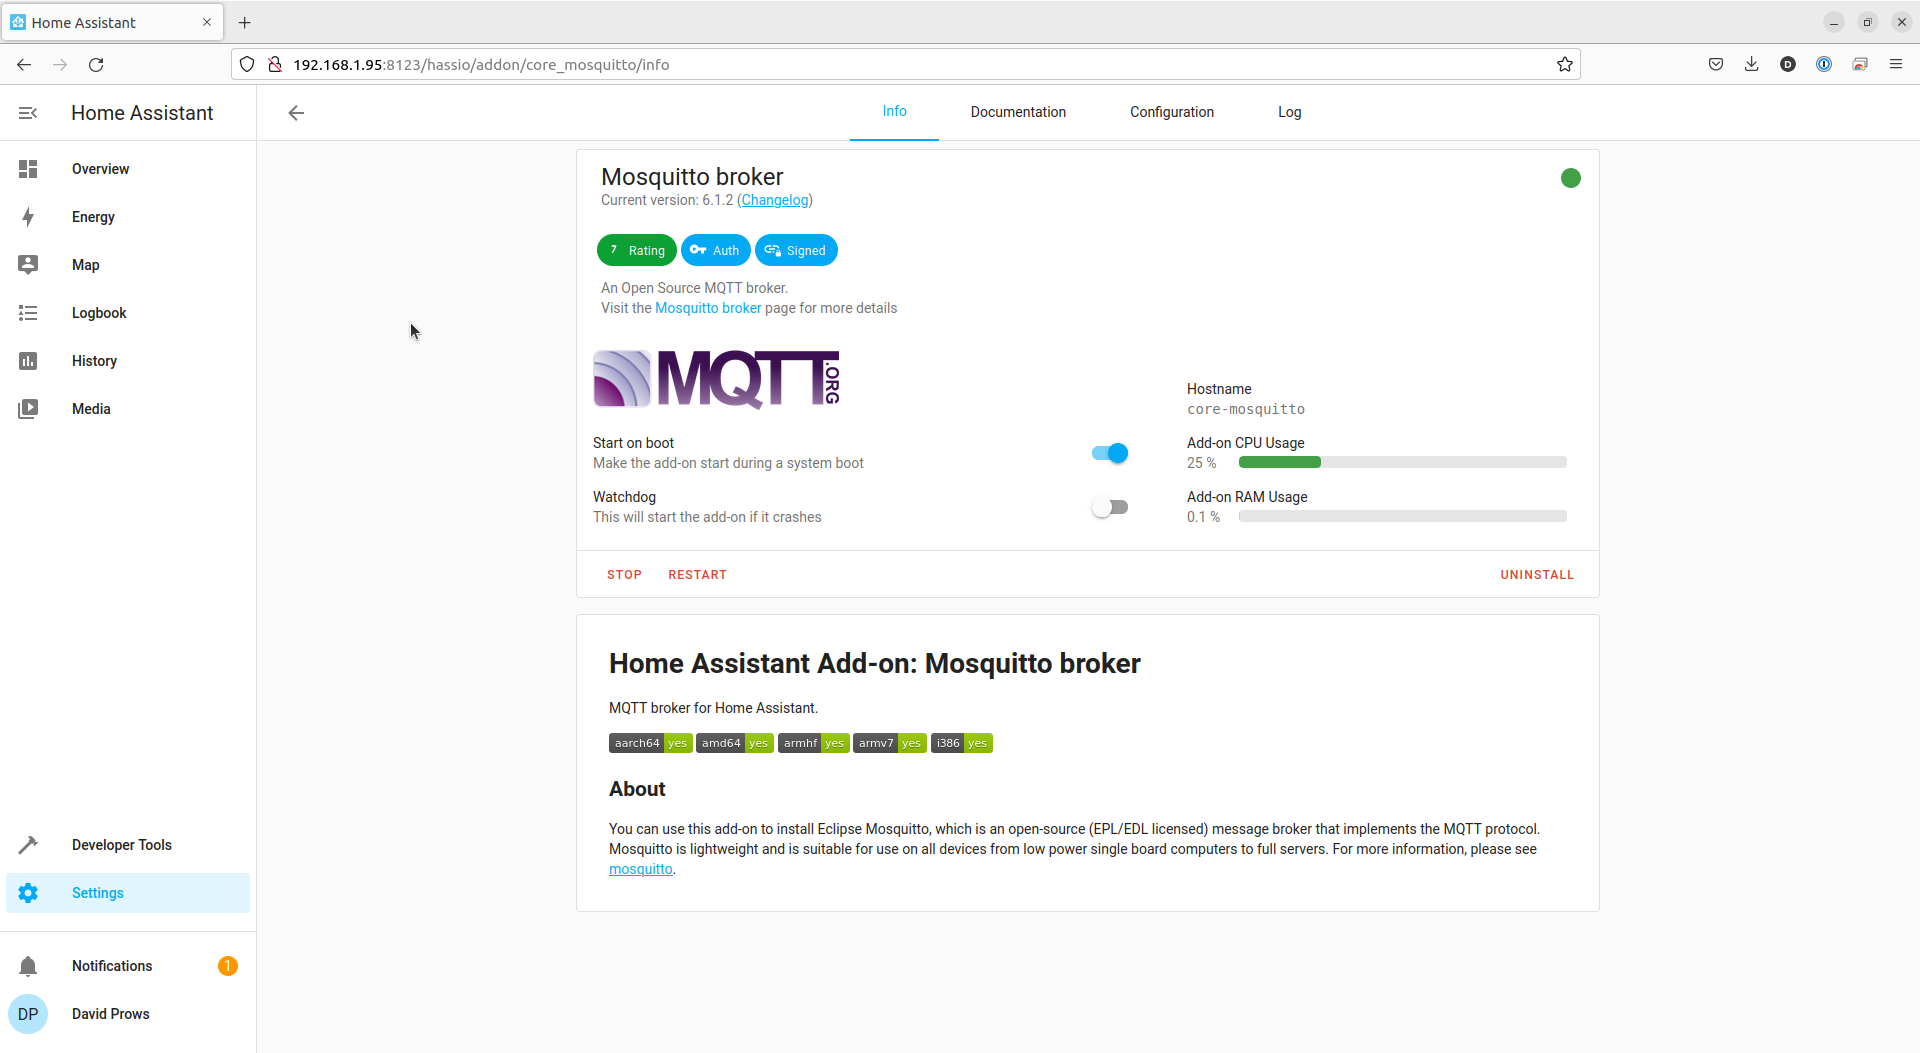
- Once it is finished, click the START link
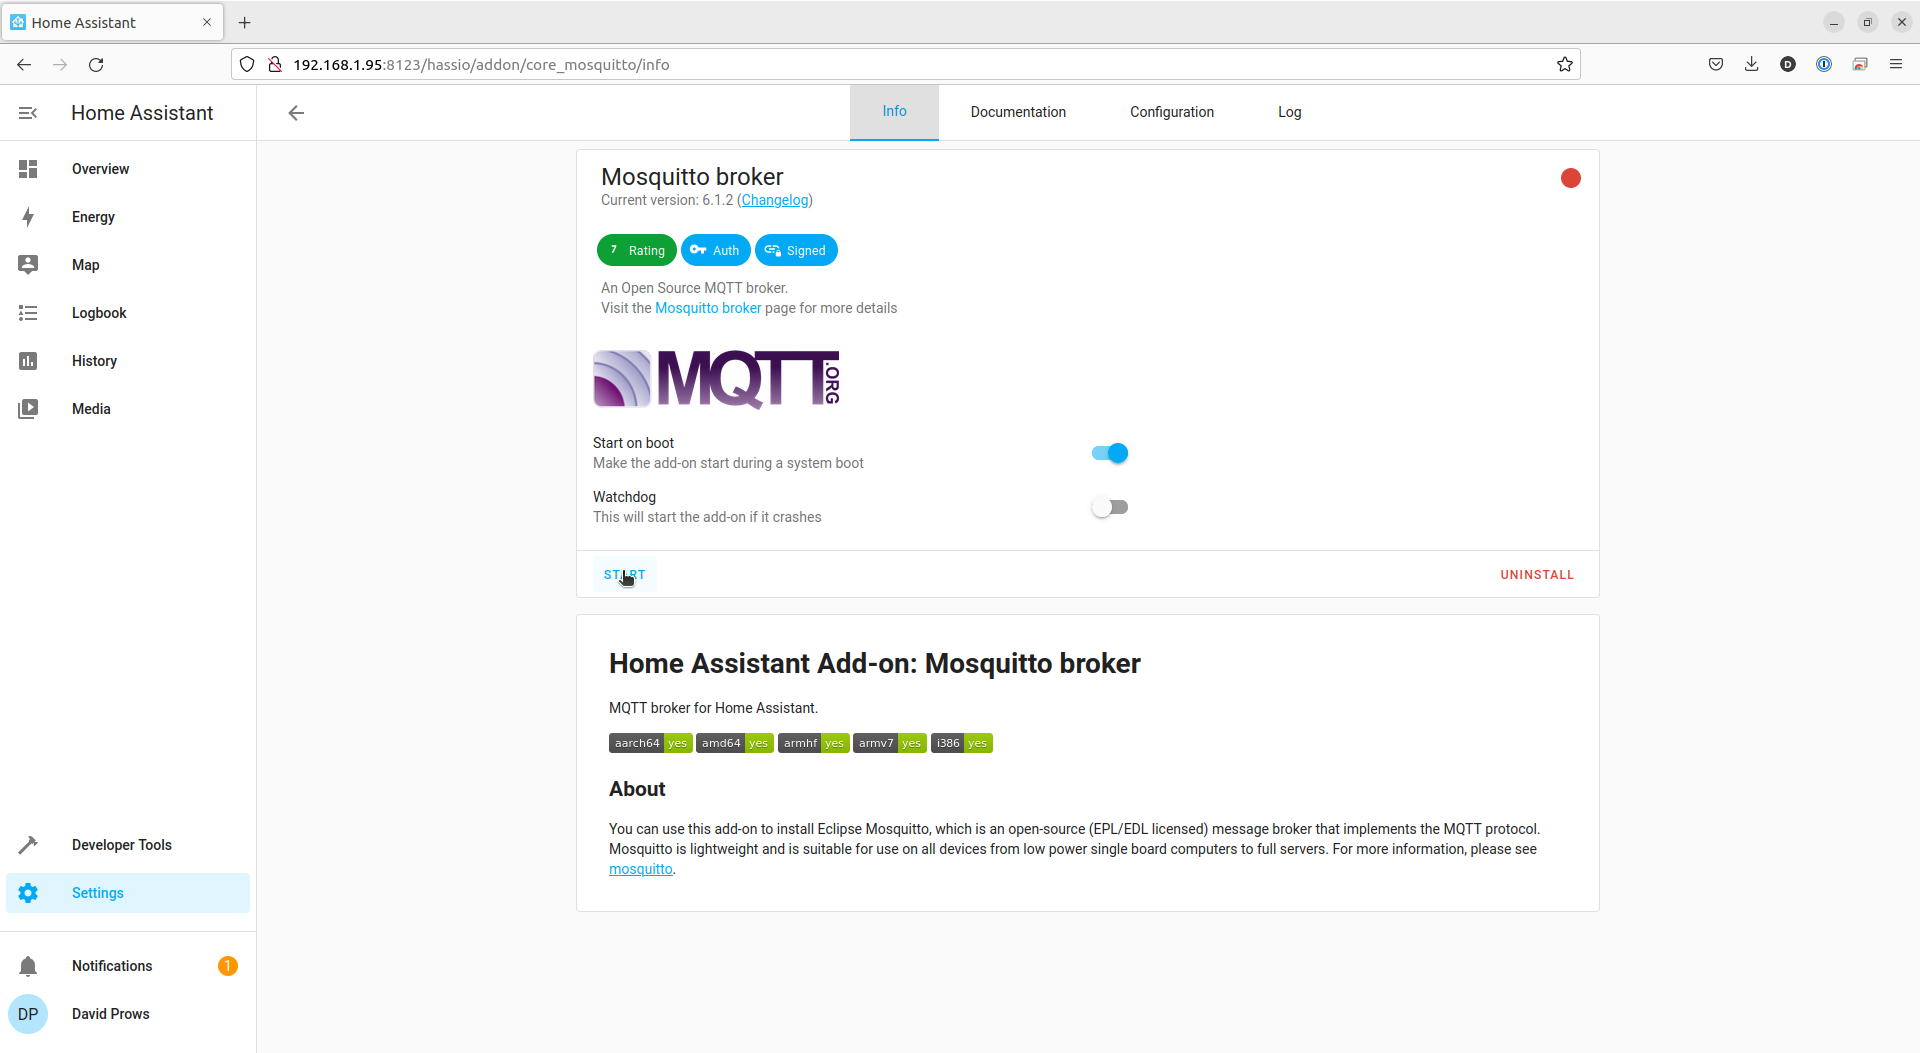
- It only takes a short moment to start
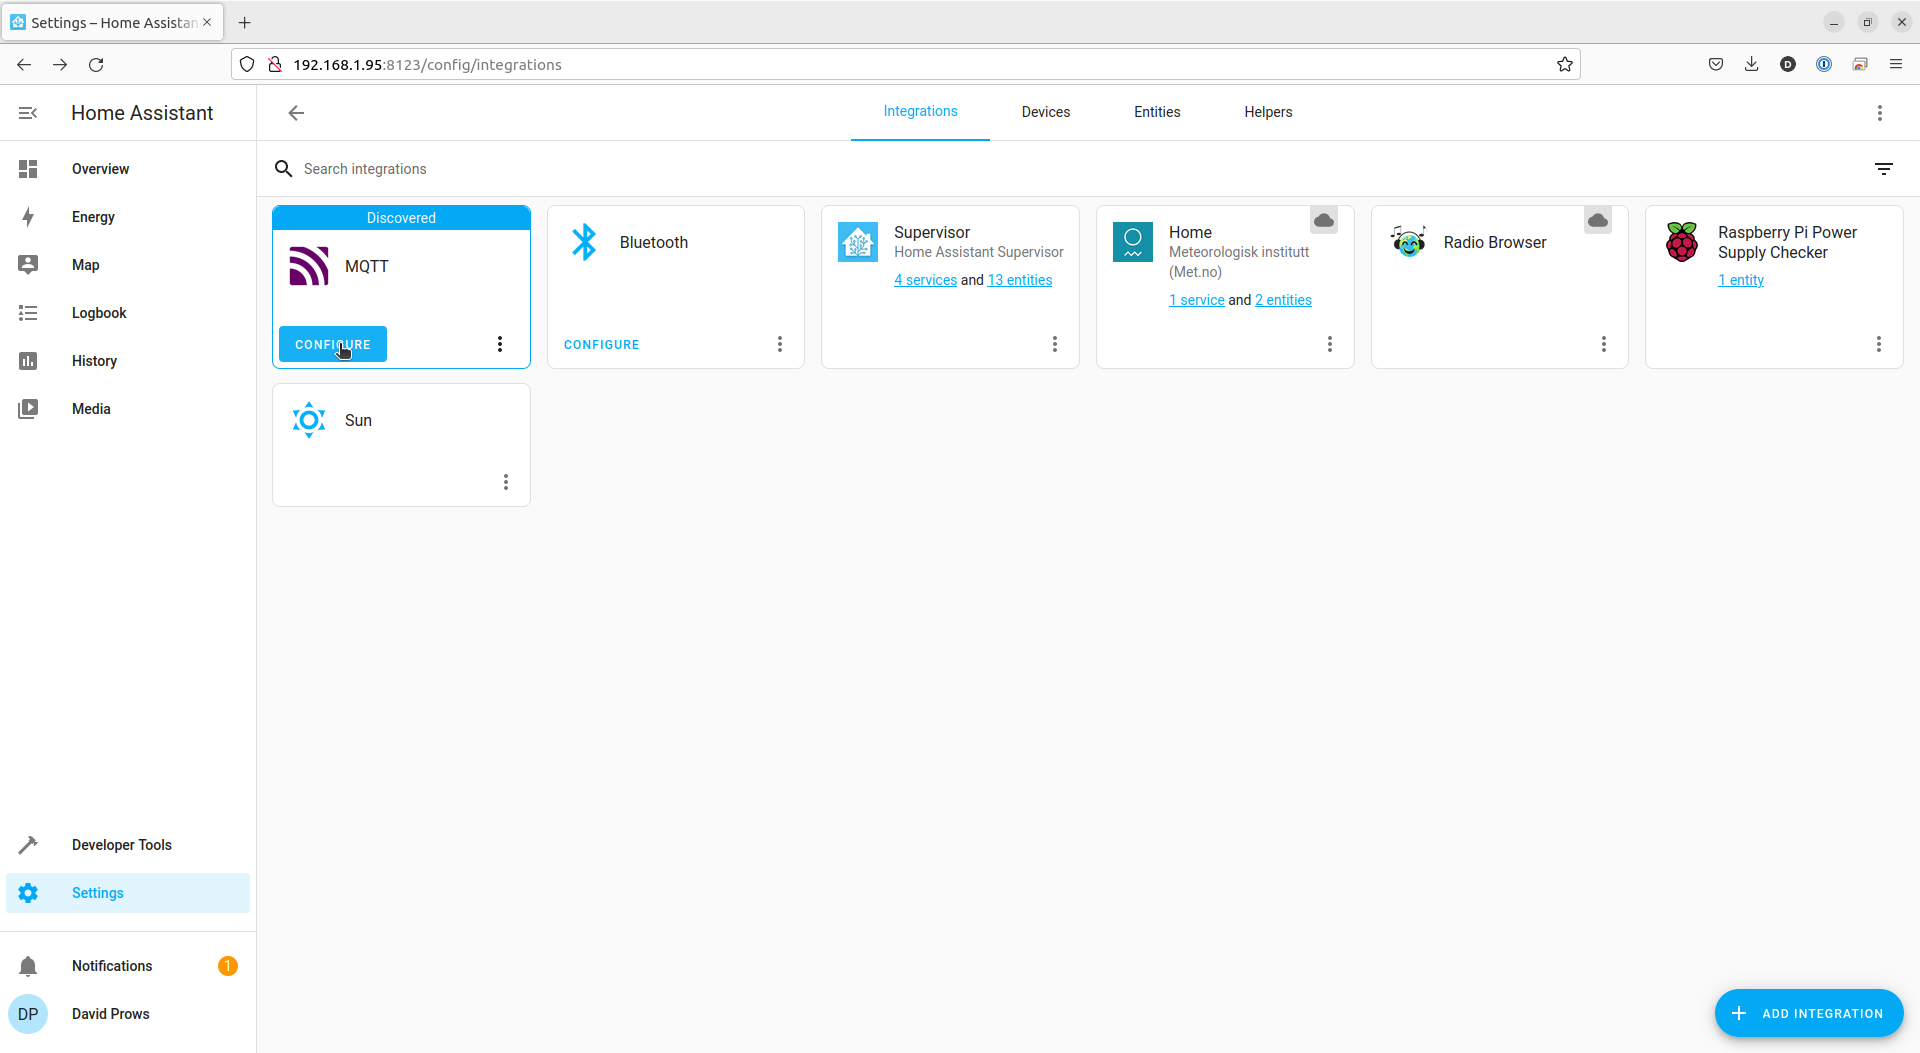
- Now we need to go and create the integration. Click Settings on the Side bar
- Click Devices & Services in the list of options

- Click the Configure button on the “MQTT” integration
- If the MQTT integration is not there, click the ADD INTEGRATION button in the bottom right, search for MQTT, and follow the prompts to add it
- If the MQTT integration is not there, click the ADD INTEGRATION button in the bottom right, search for MQTT, and follow the prompts to add it
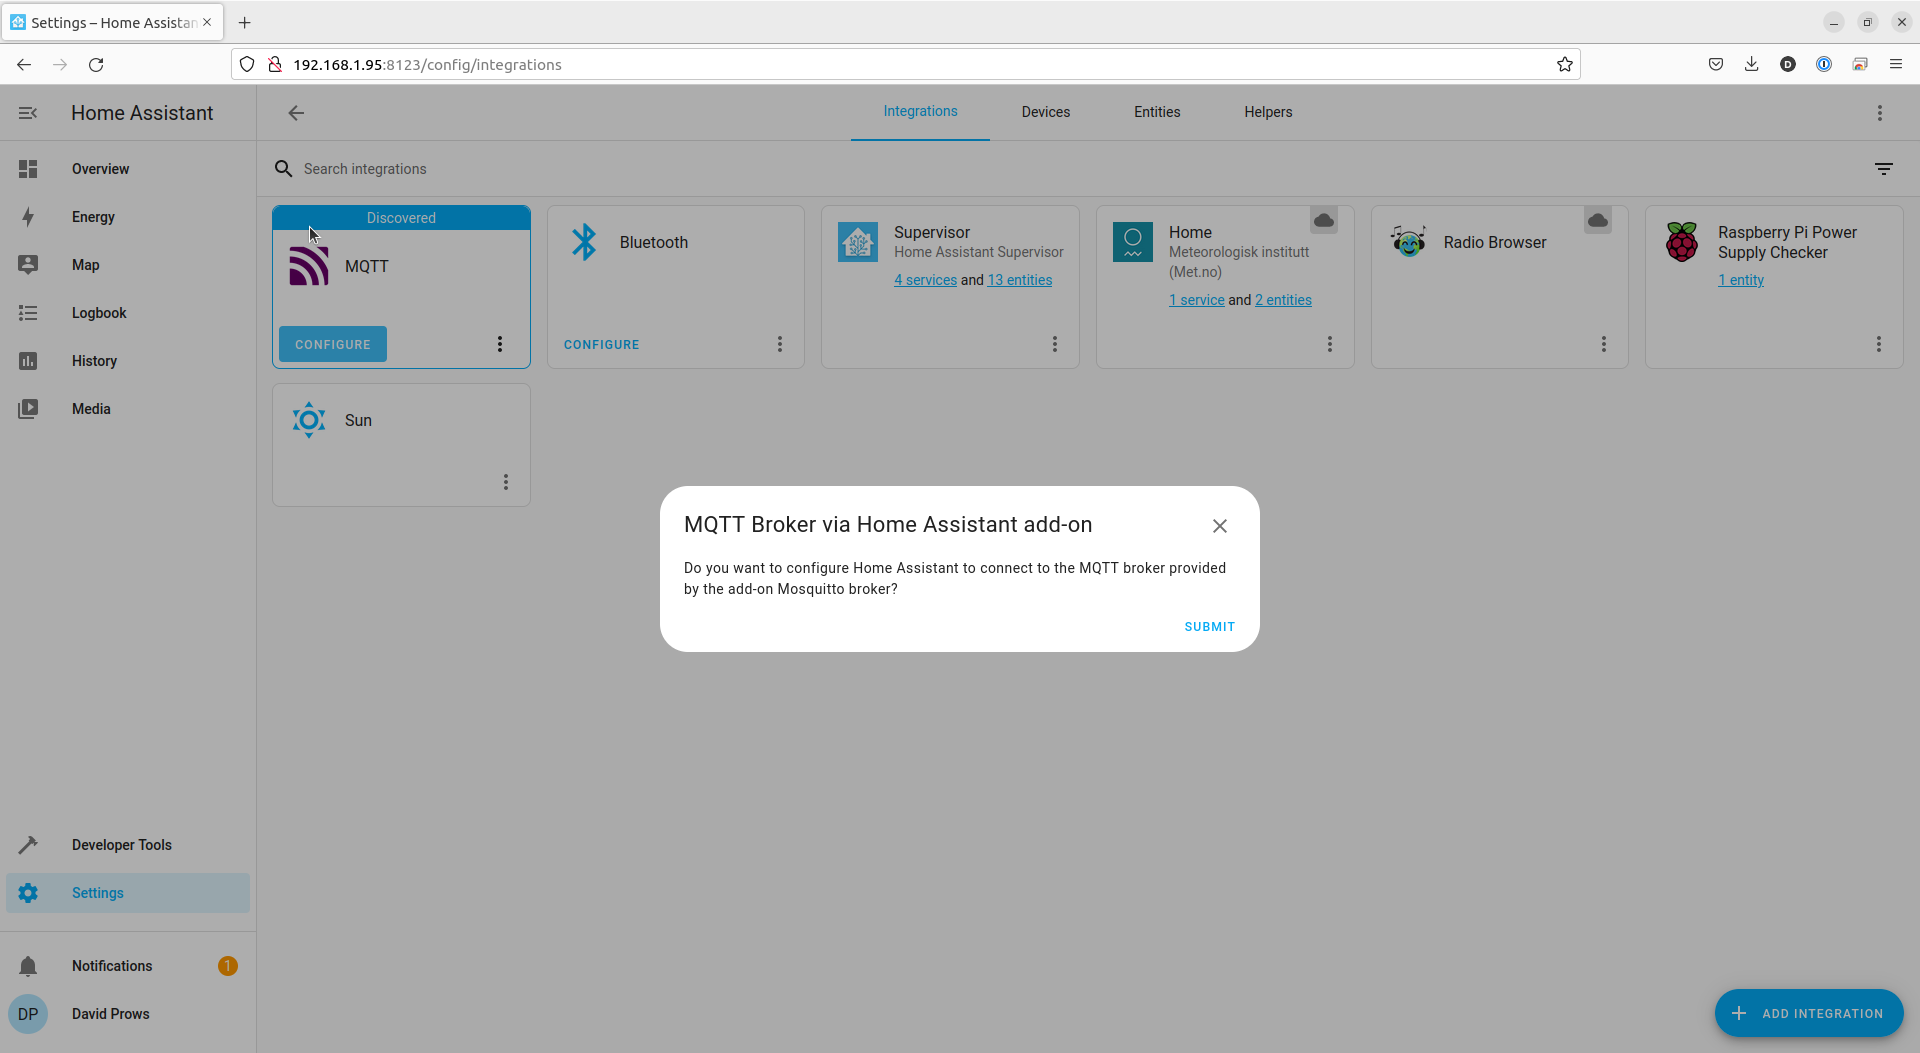
- Click the SUBMIT link on the MQTT Broker via Home Assistant add-on dialog
- Click the FINISH link on the Success dialog

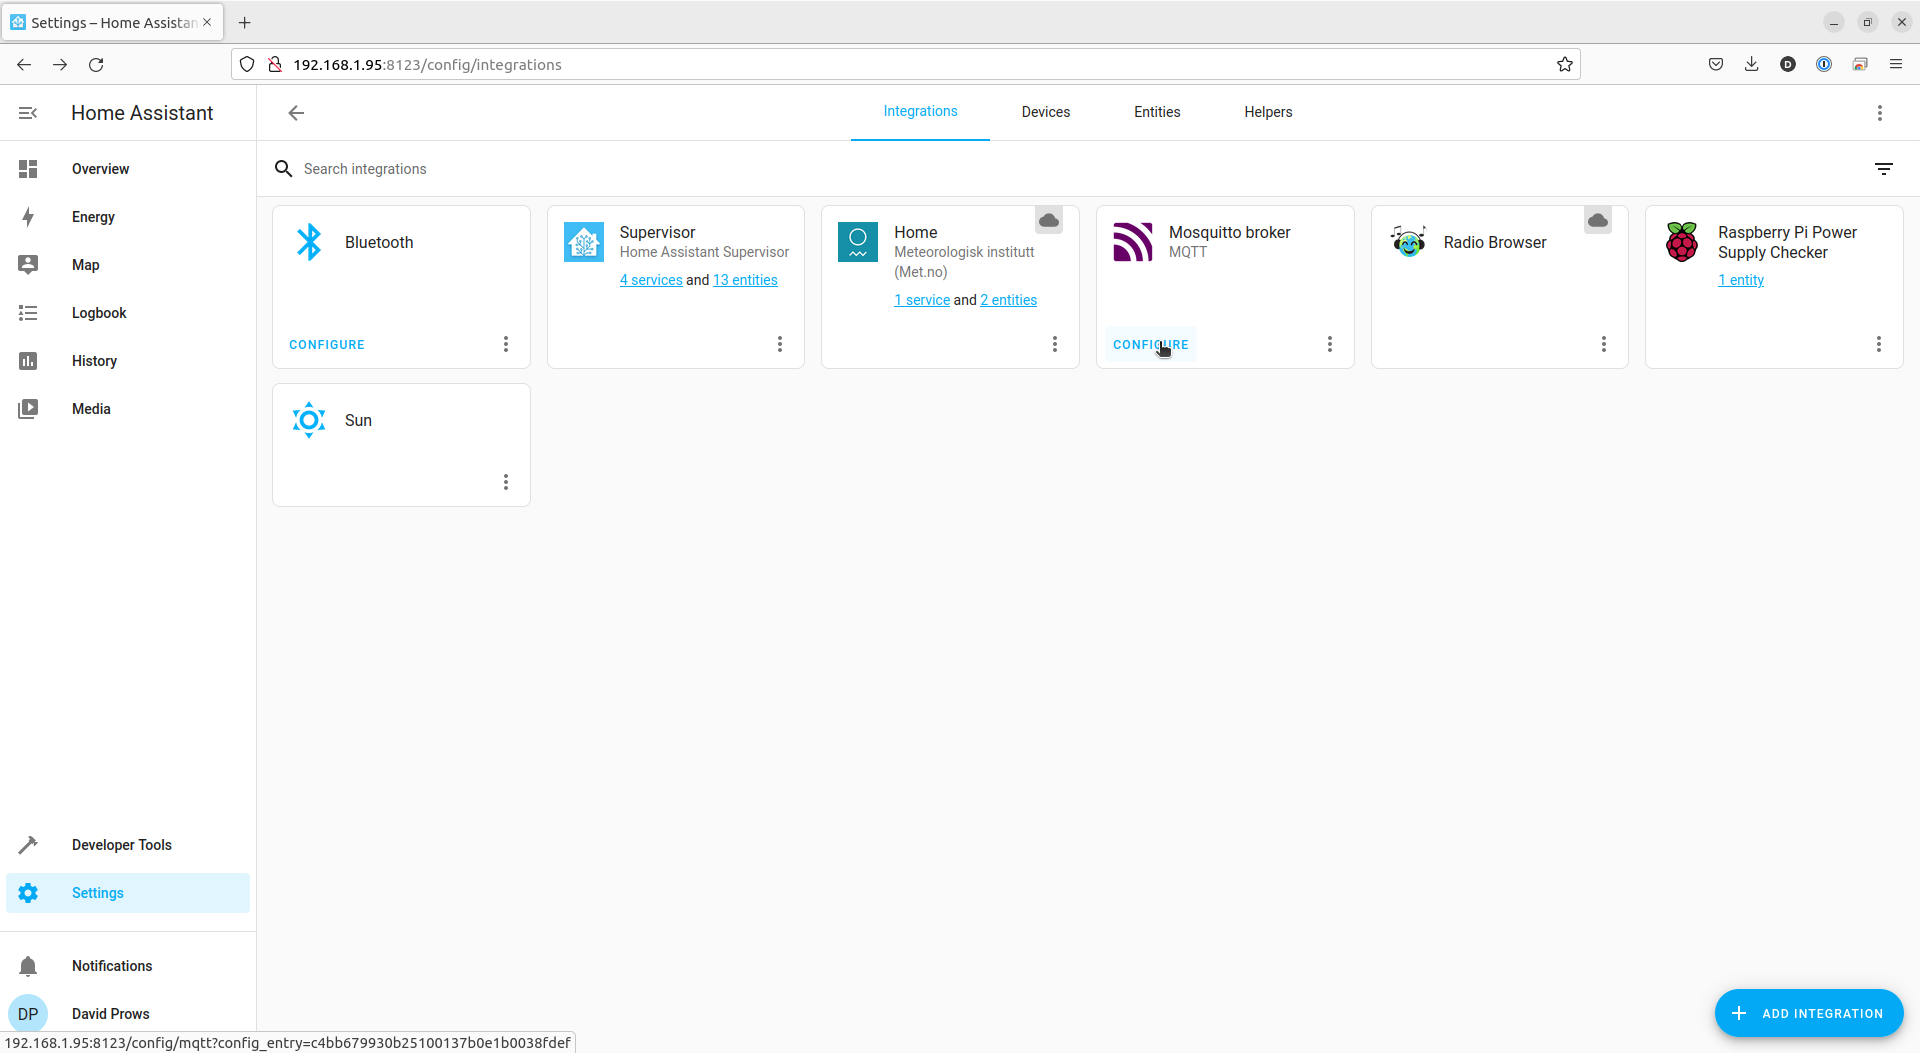
- Click the Configure link on the Mosquitto broker integration
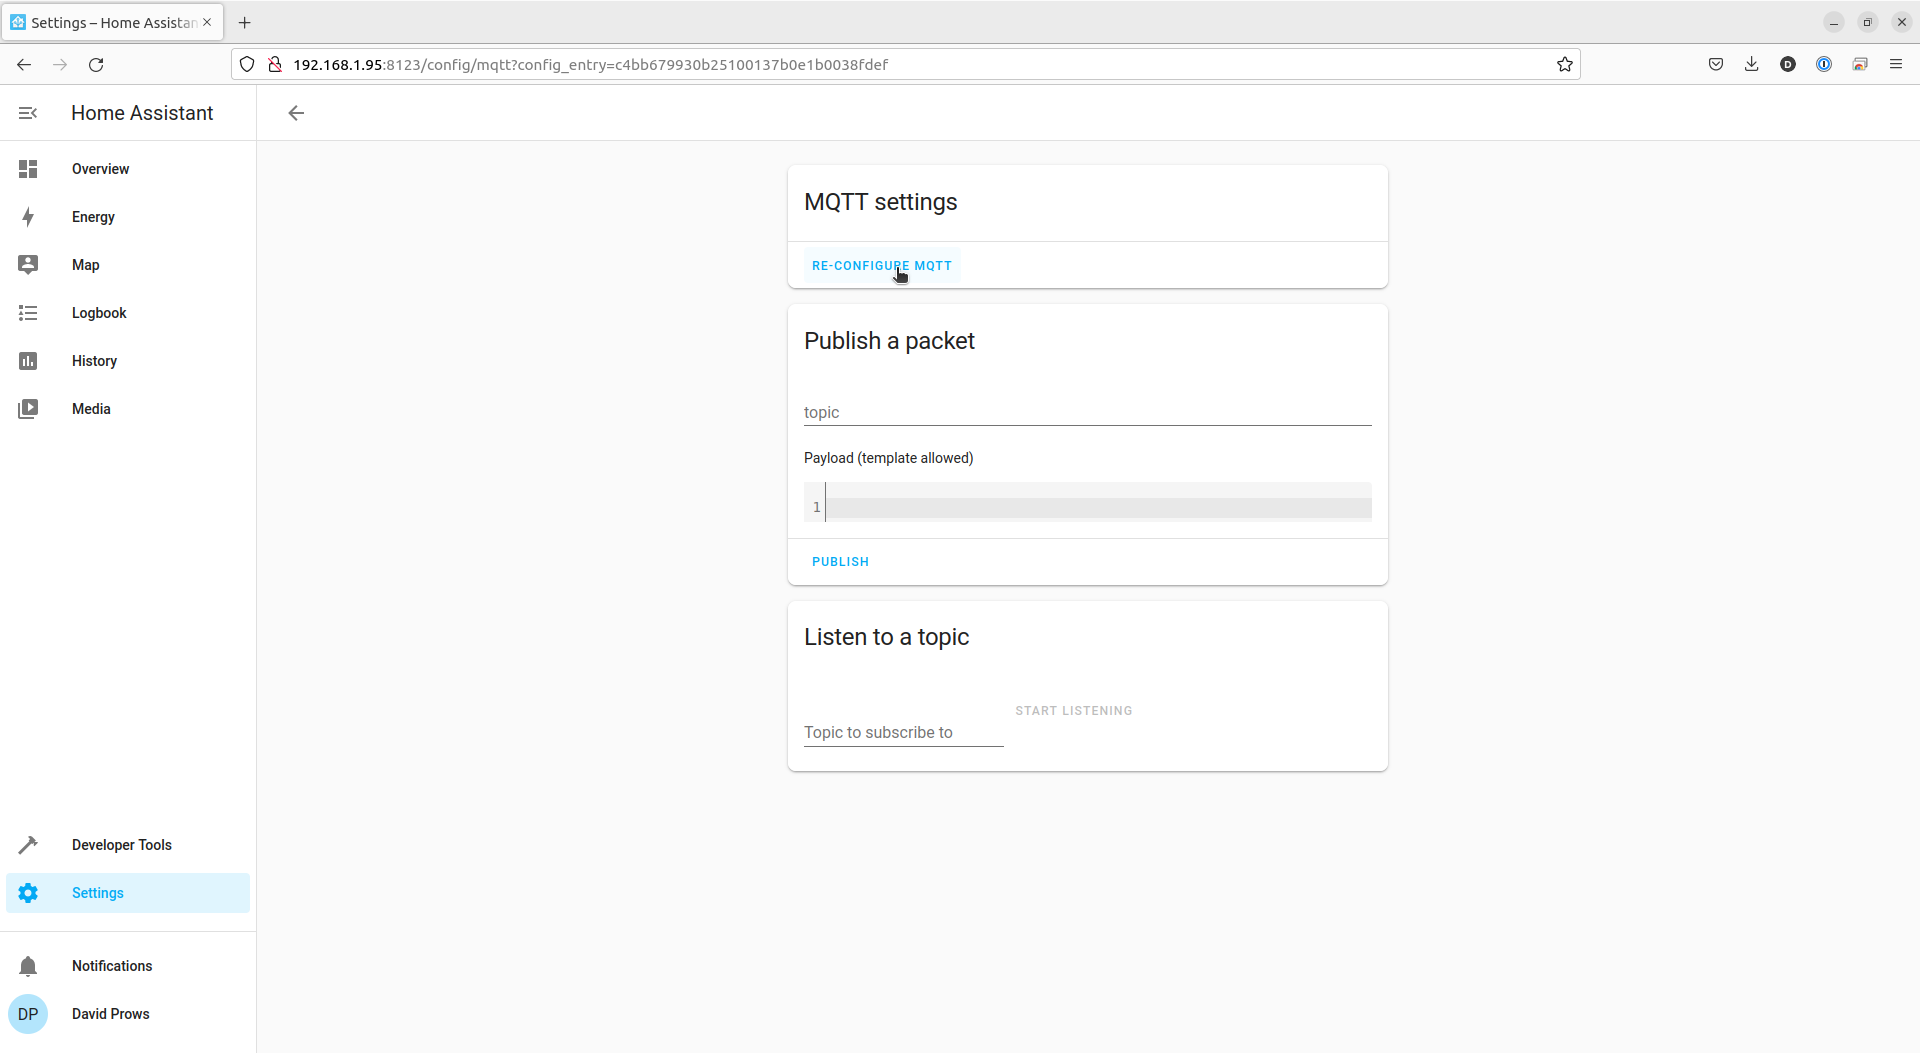
- Click the RE-CONFIGURE MQTT link under MQTT settings
- Though Home Assistant already configured MQTT for us, we do not know what the login information is that will need to be used by GaragePi when we set it up.
- Though Home Assistant already configured MQTT for us, we do not know what the login information is that will need to be used by GaragePi when we set it up.
- Click the EYE icon to reveal the Password
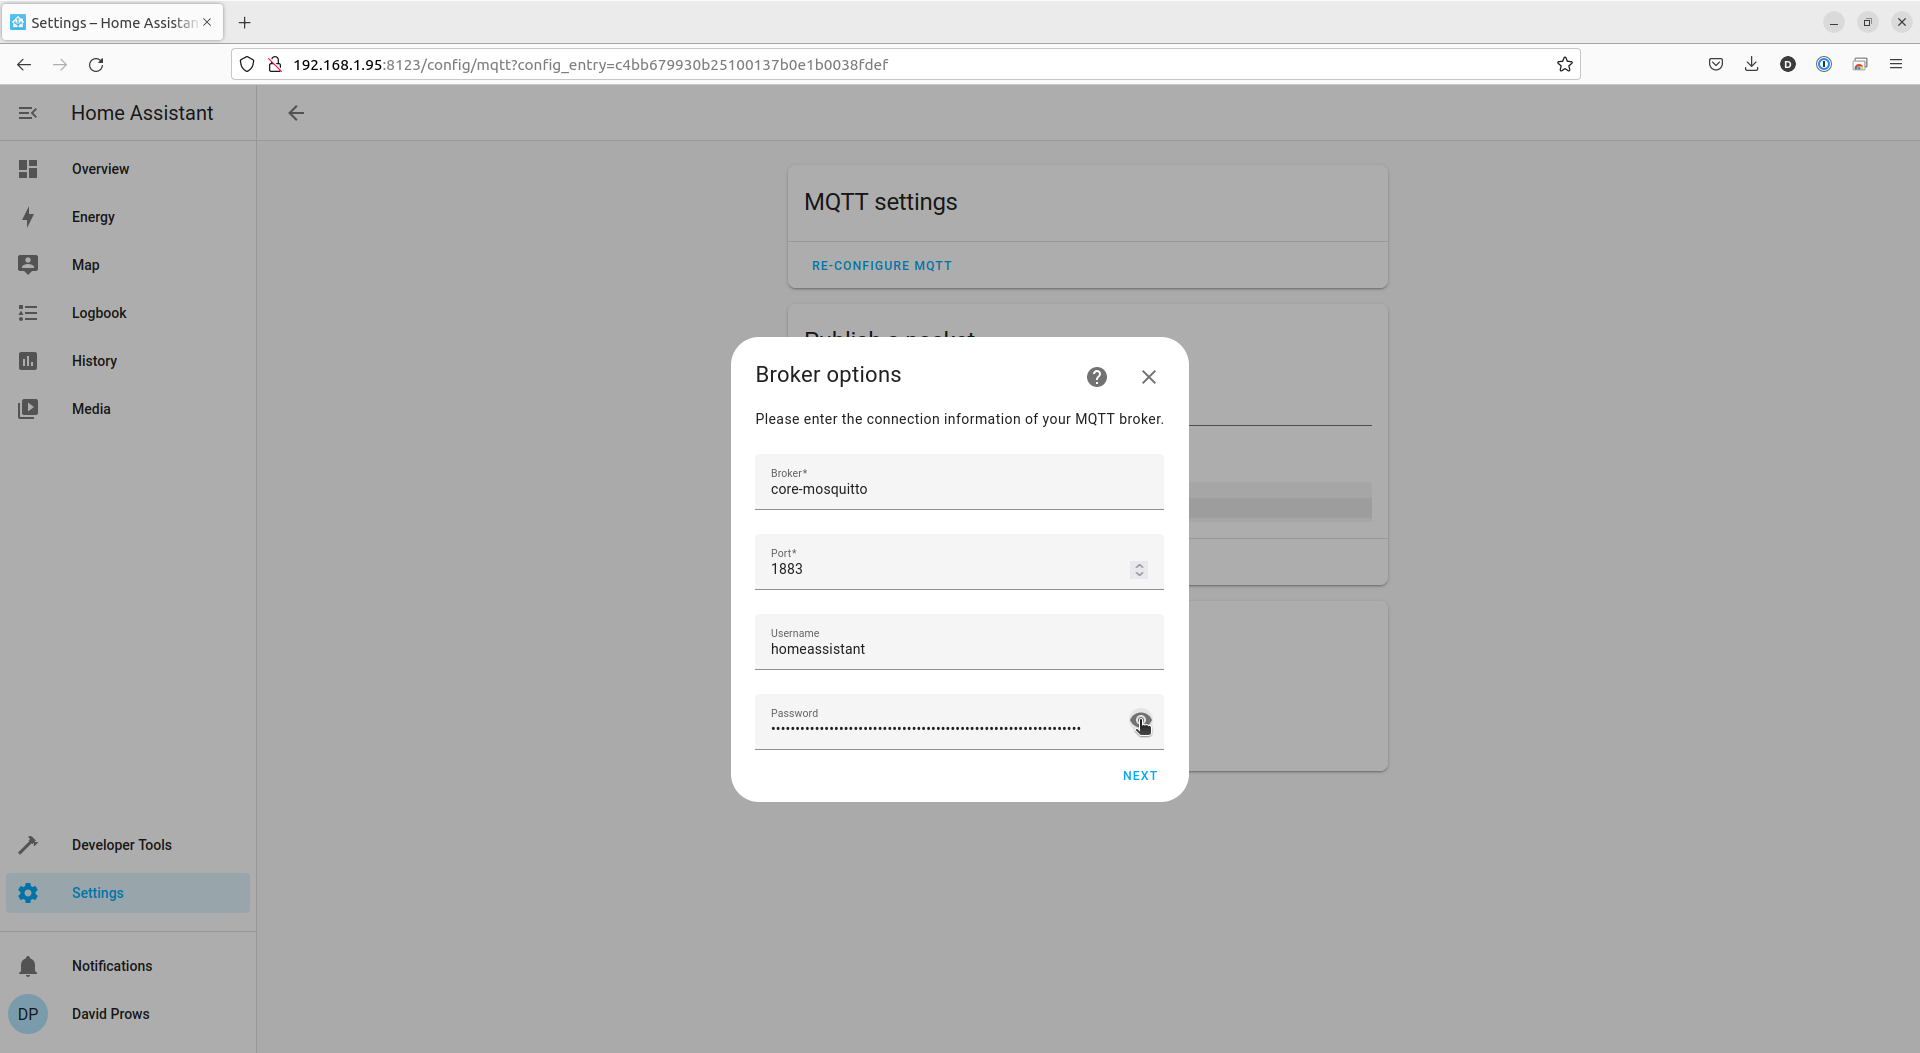
- Make a note of the Username and Password
Username: “homeassistant” Password: “page2kaedaecaitei0ooqu8zeiph5jahf3Shee9aedieX2Oophae7rahtheighae” in my case
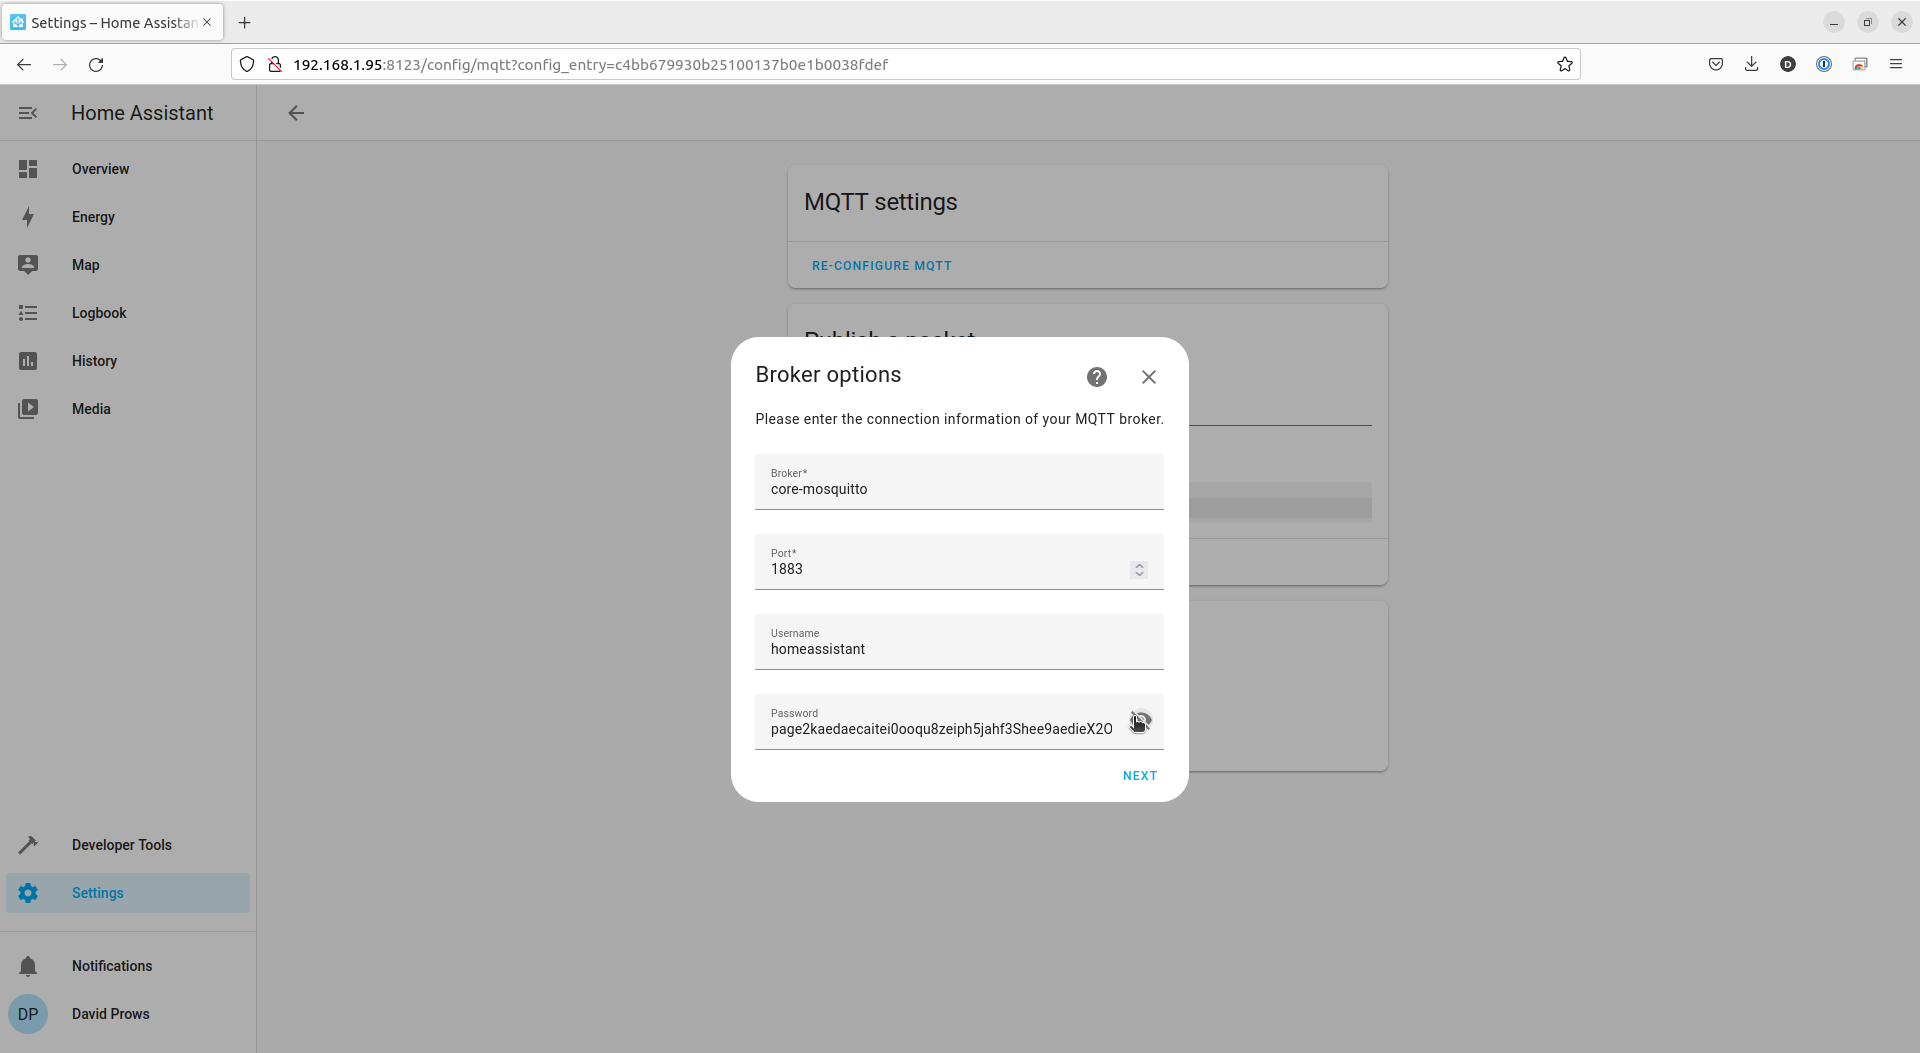
- Click the NEXT link
- Scroll down to the bottom of the MQTT Options dialog and click the SUBMIT link
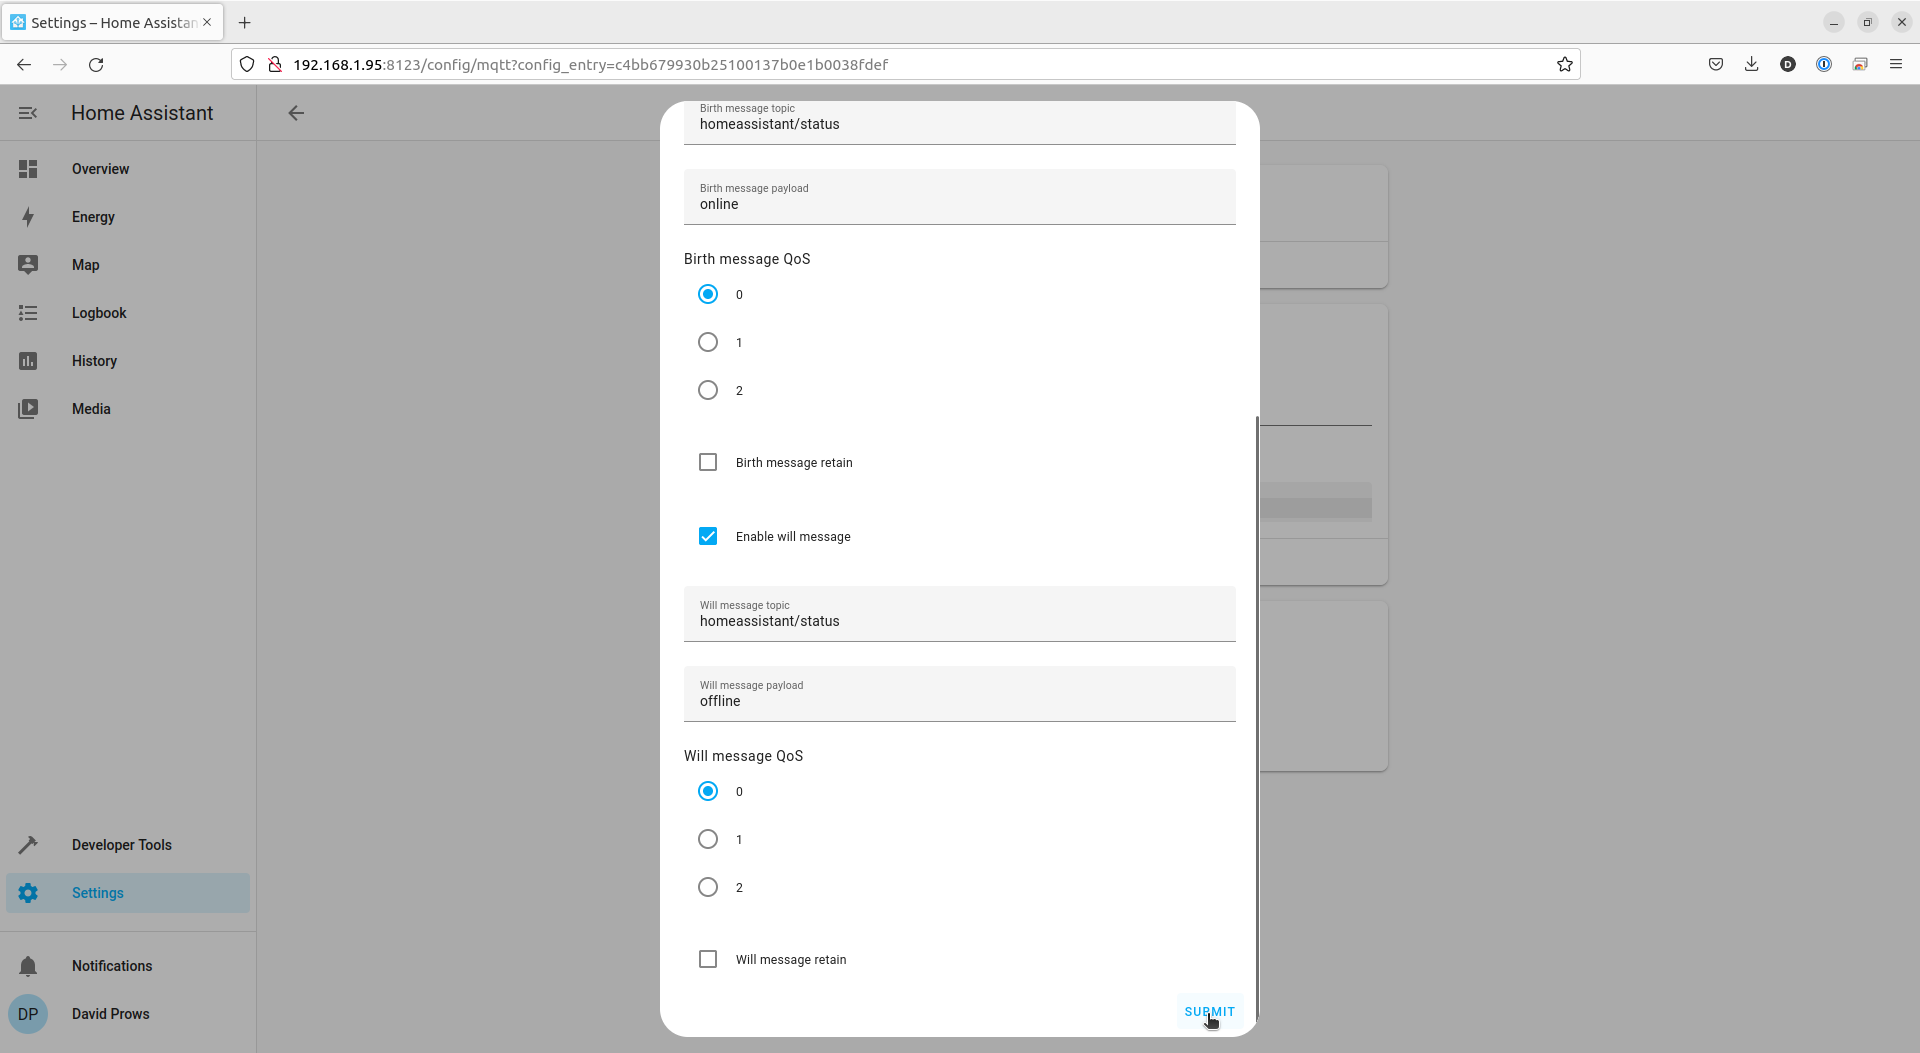
- Click the FINISH link on the Success dialog

We are now done setting up MQTT in Home Assistant. Move on to configuring the GaragePi